Gaming Source Design
Open a new document with a 1000 x 1300 pixels, black canvas. In your layer palette create a new layer set, name it Header. Create a new layer, above your canvas draw a 100 x 21 pixels, #212121 rectangle.
In your layer palette add the following layer styles to your layer:
Inner Shadow
Gradient Overlay

Now create a 1000 x 3 pixels, white rectangle above your first rectangle from step one.
In your layer palette set the opacity level to 26% for your layer.

At the bottom tip of your rectangle from step two, draw two white lines across your canvas.

Now add a #141414 line above your main rectangle.

At the end of your header structure, add your navigation section. Use font Eurostile, bold, 12 pt, sharp and white for color.
In your layer palette add the following layer styles to your layer:
Stroke

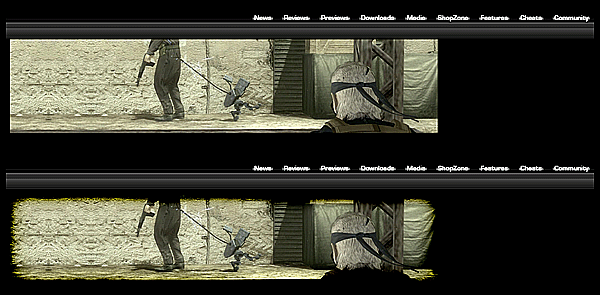
In your layer palette create a new layer set, name it Featured. This section will hold your latest features. Now just add a 725 x 160 pixels picture, in this case we used an image from Metal Gear solid 4: Guns of the patriot.
In your layer palette add the following layer styles to your layer:
Inner Shadow
Inner Glow

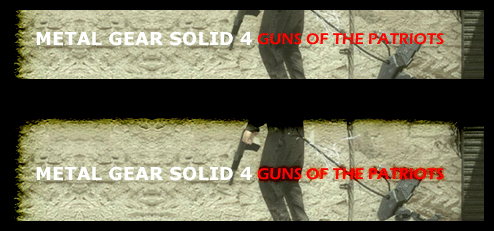
Add the title of your latest featuret using font Verdana, bold, 18 pt, sharp and white for color.
In your layer palette add the following layer styles:
Outer Glow

Below your latest features, add a space for your Leaderboard advertisements.

June 12th, 2007 at 8:43 am
amazing results.
June 14th, 2007 at 5:26 pm
Nice!! but some images in your examples for each steps like Inner Glow properites are missing =[
June 16th, 2007 at 9:01 am
Sorry about that, I think i fixed them all. 🙂
June 16th, 2007 at 12:09 pm
“Open a new document with a 1000 x 1300 pixels, black canvas.” – Width=1000pixels, Height=1300pixels it’s right? Or did you mean contrary? “Create a new layer, above your canvas” – where I can find canvas and how do I have to put them?
June 16th, 2007 at 12:38 pm
John,
When you open a new document it will asked you to input the sizes and background color of your canvas window, add the settings we provided.
June 16th, 2007 at 5:09 pm
Hey admin! The images that shows the settings for the Inner Glow, etc, are still broken =p
June 18th, 2007 at 12:03 pm
ah nice catch, I missed step 10 gradient overlay. Everything should be clickable now 🙂
+New templates and resources page with all PSDs will be up soon!
June 23rd, 2007 at 12:46 pm
is there a way to see the exact size in pixels when drawing a rectangle? all links work, just need some fine tuning on my actual cs3 setting …
June 23rd, 2007 at 9:29 pm
Snave, choose your rectangle tool from your main toolbar then select rectangle options above your screen( Next to Custom Shape tool iN PS7). Select fixed size inside your rectangle options and input the settings we provide. Goodluck, ask questions if you need help.
July 16th, 2007 at 5:08 pm
Hey there,
I’m having problems with step 10.
When I put in the Gradient Overlay values my tab stays white and doesn’t get the effect it’s supposed to get. Any idea how I can fix this?
July 16th, 2007 at 5:15 pm
I mean the round rectangle cut in half doesn’t get the effect of the last image
http://www.avivadirectory.com/tutorials/Templates/GamingTemplate/images/10.gif
It stays white.
July 16th, 2007 at 5:23 pm
here is the screenshot:
http://img404.imageshack.us/img404/1883/wtfql3.jpg