Ruined Wall Effect
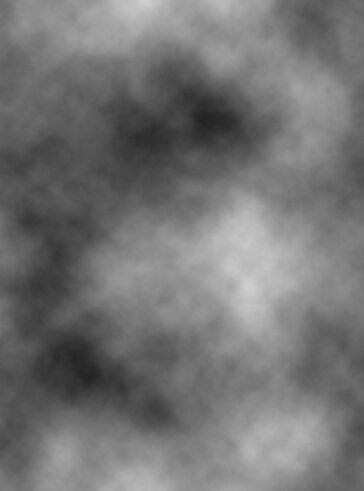
Start by creating a new file. Select black as foreground and white as background color. From filter menu select “Render>>Clouds”.
Press Ctrl+L to open level settings. Apply settings as shown.


From “Filter” menu select “Stylize>>Emboss”. Apply settings as shown.


Select magic wand tool and set the “tolerance” value to 10 on the options bar at the top. Click on the the gray flat areas.

Press Ctrl+J to copy paste the selection in a new layer. Double click the layer to open layer style window. Apply settings as shown.


From layer menu select “new adjustment layer>>hue/saturation”. Apply settings as shown.


Open an image an apply the same effect on the walls.
