Direction Sign Menu
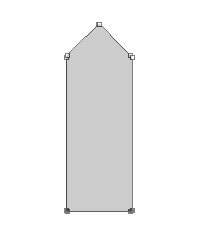
Start by creating sign 2 shape using custom shape tool.

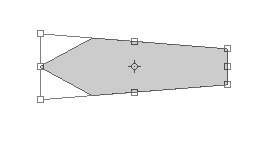
Using direct selection tool select and drag the bottom nodes.
Press Ctrl+T. Right click the layer and select rotate 90° counter clockwise.

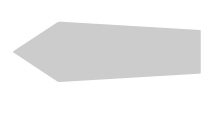
Press Ctrl+T. Right click the layer and select perspective.
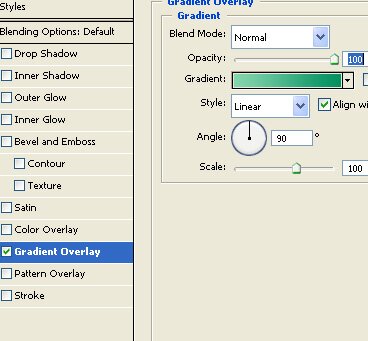
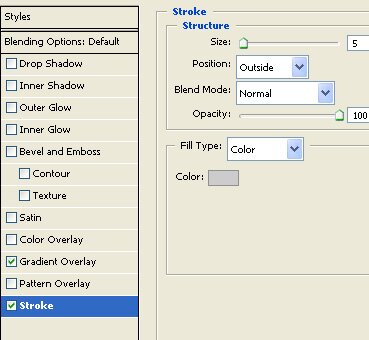
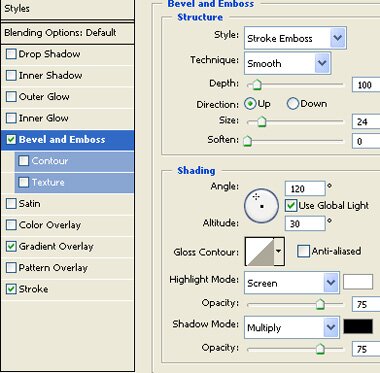
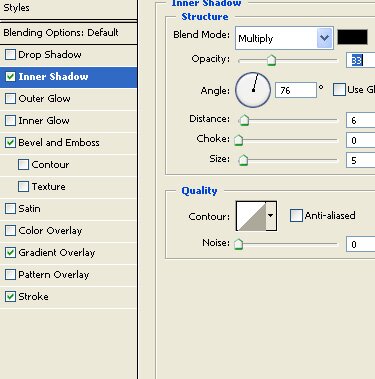
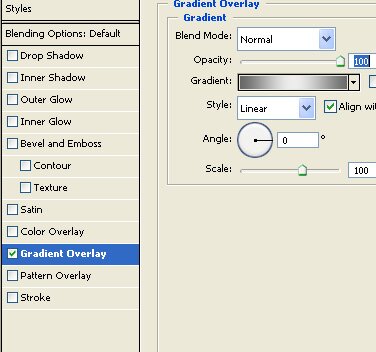
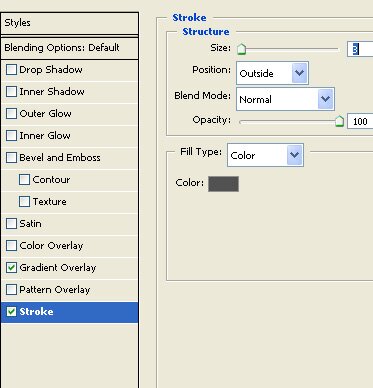
Double click the layer to open layer style window. Apply layer style with the settings shown.
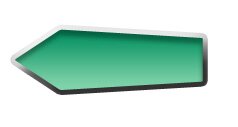
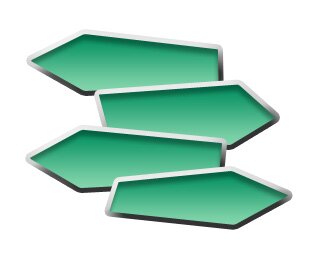
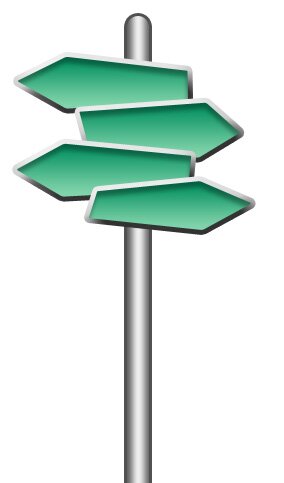
Duplicate this layer 3 times and place as shown. Also distort these shapes randomly by pressing Ctrl+T. Right click the layer and select distort.
Create a rounded rectangle vertically using rounded rectangle shape tool. Place it for the pole. Move the layer below all layers in layer window.
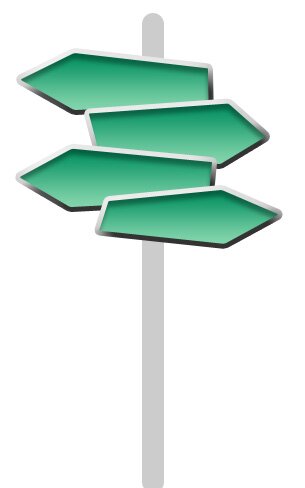
Double click the layer to open layer style window. Apply layer style with the settings shown.
Type navigation links using a nice font on each of the direction board.

Distort the text layers as you did with the board layers.

Optionally place a road image below all layers.